You will need the following supplies for this tutorial.
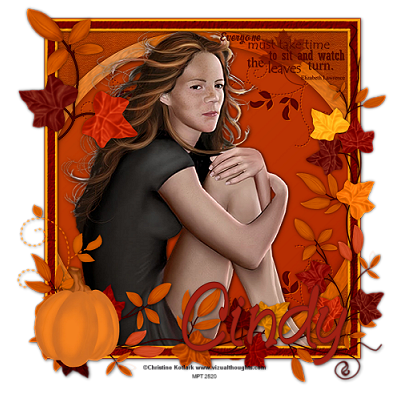
Scrap Kit by Cindy.
It's called Autumn Splendor.
Thank You Cindy for allowing Me to use Your
kits in My tutorials -hugs and kisses-.
If You can't get this kit any will do.
Tube of choice. I am using a tube by the
wonderful artist Christine Kotlark.
You can find Her tubes at MPT.
Please don't use any of Her work without
the proper license.
Font of choice.
Open an new image 800x800. I know it's big but You can
crop or resize it later. Make sure it's transparent.
From the kit find a frame You like. Open it and go to
edit copy and edit paste as a new layer on Your
transparent image. If Your using the same kit
You'll have to resize the frame by 85 percent so to
to image resize all layers unchecked and resize it by
85 percent.
With Your magic tool click inside the frame. If Your using
the kit I am You'll have to hold down the shift key
while selecting all the area's around the pumpkin and leaves.
Selections modify expand by 10 or so. Now go to edit paste
as a new layer. Selections invert
and tap on the delete key on Your keyboard.
Selections select none. Pull this paper layer below Your
frame layer. You might have a missing piece in the frame so
use Your magic wand and click it or use Your shift key to
select multiple one's and go to selections modify expand by 10
or so again and do the delete step again.
Now make sure the layer that You just did if You had a
missing piece go to layers merge down be sure either
one of the paper layers is chosen when You do the merge.
Go to Your tube. Copy and paste it as a new layer. On My tube
I had to resize it by 160 percent to go with the size of the
frame. Slide the tube under the frame layer and with
Your eraser tool erase any of the overlap.
Effects 3D Effects Drop Shadow vertical and horizontal 2
opacity 55 blur 10.00 and the color black.
Repeat this drop shadow with the horizontal and the vertical
set to 0.
Now We'll begin to add any of the elements from the kit
that We like. I used a journal box that came inside
the kit and resized it a bit then erased the overlap once again
as We did our main tube. Give it the same drop shadow
with the 0 settings.
I added a word art and some leaves that came with the kit
and gave it the same drop shadows as above. I also
added Cindy's name to the tag. I used Fountain Pen and
as always created it as a vector and then converted it to a raster
layer and added a drop shadow to it. I also then added that
same drop shadow to My frame.
I added the artist's copyright and My license number and then
resized My tag to 500x500 pixels all layers checked and
merged visible. Save as png and Your all done.