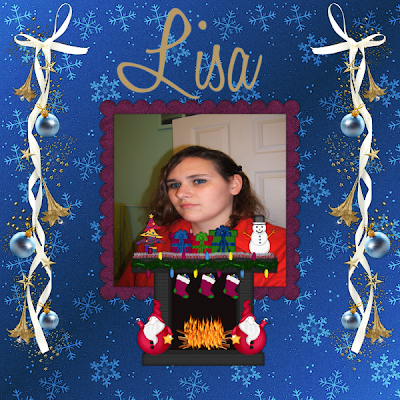
You will need these things for this tutorial:
Paint Shop Pro. Any version should
work for this.
Scrap Kit of choice. I am using a kit by
Tracy at Scrap Anonymous when
it was a freebie at a store
She belongs to.
Tube or image of choice.
I am using an overlay for My paper by
I have a note here as My kit isn't a scrapper's
size so I'm going to have to open
a blank canvas 3600x3600.
Some of You might prefer full or tagger's but
Mine when I do tags and things I love
them to be full size. Anytime You get a full sized
kit the elements You use are easily sized.
This is how You do it.
Image
Resize
All layers unchecked
And for size use
Percentage until it's a size
You like.
Ok so if Your using a tagger sized kit open a blank canvas
of 700x700, if it's full go 3600x3600.
Find a paper from Your kit.
Edit Copy.
Click on the blank canvas with Your magic wand.
Edit
Paste as a new layer.
Selections
Select none.
Open a frame from the kit and paste
it as a new layer.
Add any of the elements You wish
to the tag/Quick Page
pasting each as a new layer.
Using Your magic wand click inside of
the frame.
Go to Your paper layer and tap the
delete key on Your
keyboard.
Selections
Select none.
Now let's add some depth so go to
Effects
3D Effects
Drop Shadow
Vertical 0
Horizontal 0
Opacity 100
Blur 15.00
Color Black.
This step might vary with whatever
kit You have chosen to use so just
play with the settings.
To add an image to the frame just click inside
of it.
Selections
Modify
Expand by 15.
Layers
new raster layer.
Edit
Paste into selection.
Keep in mind the expand might be too big on Your
creation so just play with the
settings some.
Selections
Select none.
Drag that layer under the frame layer.
Add any text You want and then
merge layers.
You can either save the full sized Quick Page
or size it down for a tag and then
save as png.
I hope You enjoyed this tutorial.


No comments:
Post a Comment