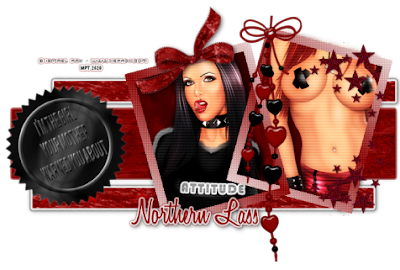
You will need the following for this tutorial:
Template by Kelly from the Misfits blog.
Thank You Kelly -hugs-.
Scrap Kit of choice.
Mine is from Northern Lass and it's called
Tubes of choice by the same artist.
I'm using the artwork of Ismael Rac.
To use his work You must first
obtain a license.
I got Mine before He moved to AMI.
Eye Candy 5 gradient glow optional.
Penta color dot optional
Open Your tube and template in psp. Minimize the tube
and on the template Shift+D and close the
original.
Click on the LgRectangle layer with Your magic
wand.
Layers
New Raster Layer.
Find a paper You like from the kit and open it.
Edit
Copy.
Edit
Paste as a new layer.
Selections
select none.
You can now go to the original layer and colorize
rectangle to fit Your paper's color or not.
On the paper layer go to
Effects
3D Effects
Drop shadow
vertical 1
horizontal 1
opacity 60
blur 10.26
color black.
Make sure Your magic wand is set to add (shift)
now in Your layer palette highlight Rectangles
layer both rectangles.
Now do the steps that We did above.
Delete the original Rectangles layer.
Effects
Alien Skin
Eye Candy 5 Impact
Basic tab
Outside Glow checked
Mask selection checked
Glow Radius 7.00
Soften Corners 35
Overall Opacity 100
Distortion amount 23
Distortion Lump Size 55
Gradient
Smoothness 100
(Just play with the settings and pick something You
like).
Give it the drop shadow from above.
With Your magic wand click on both the Right and Left
frame fills.
Layers
New Raster Layer.
Find another paper and then go to
Edit
Paste into selection.
Selections
Select None.
Delete both of the original fills.
Find the tubes Your using and open it go to
Edit Copy.
Now back onto the layer palette click on the
right frame border.
Edit
Paste as a new layer.
Move it to a position You like then back on
the frame layer go to
Selections
Modify
Expand by 8 or so.
Selections
Invert
Now highlight the tube layer and tap Your
delete key.
Selections select none.
You might have to juggle Your layers to make
the tube go under the frame layers.
Do the same for the next frame.
On the frames themselves You can either fill with
a paper or gradient the choice is Yours.
I used penta color dots and played around with it.
On the tubes I duplicated them once and
added a blur of 3 and then put the layers on
overlay.
I then gave My tubes a blinds effect using VanDerLee
interlace which is a pay to use filter
but You can use psp's blinds.
On Both of the star layers You can either colorize or
use manual color correction.
Give these layers along with the tubes and
frames the same drop shadows.
When adding the drop shadows if You have any excess
tube peeking under Your tubes just erase each
of the layers carefully.
Now add any elements You like from the kit giving
them the same drop shadows as above.
When done add Your text any effects You want and
resize it if needed. Don't forget Your copyright
if one is needed.


No comments:
Post a Comment